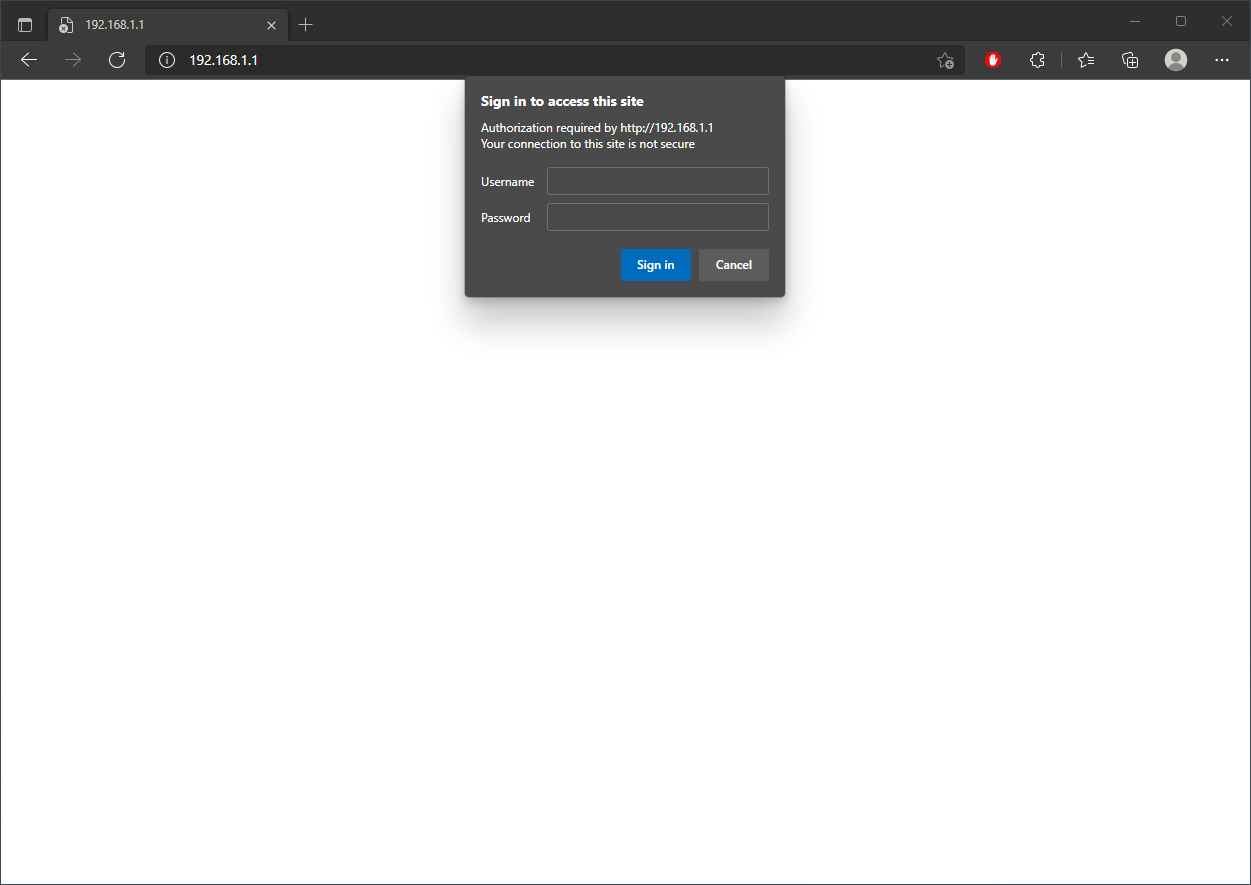
1. Enter the IP address for the router/modem into the address bar of your web browser.
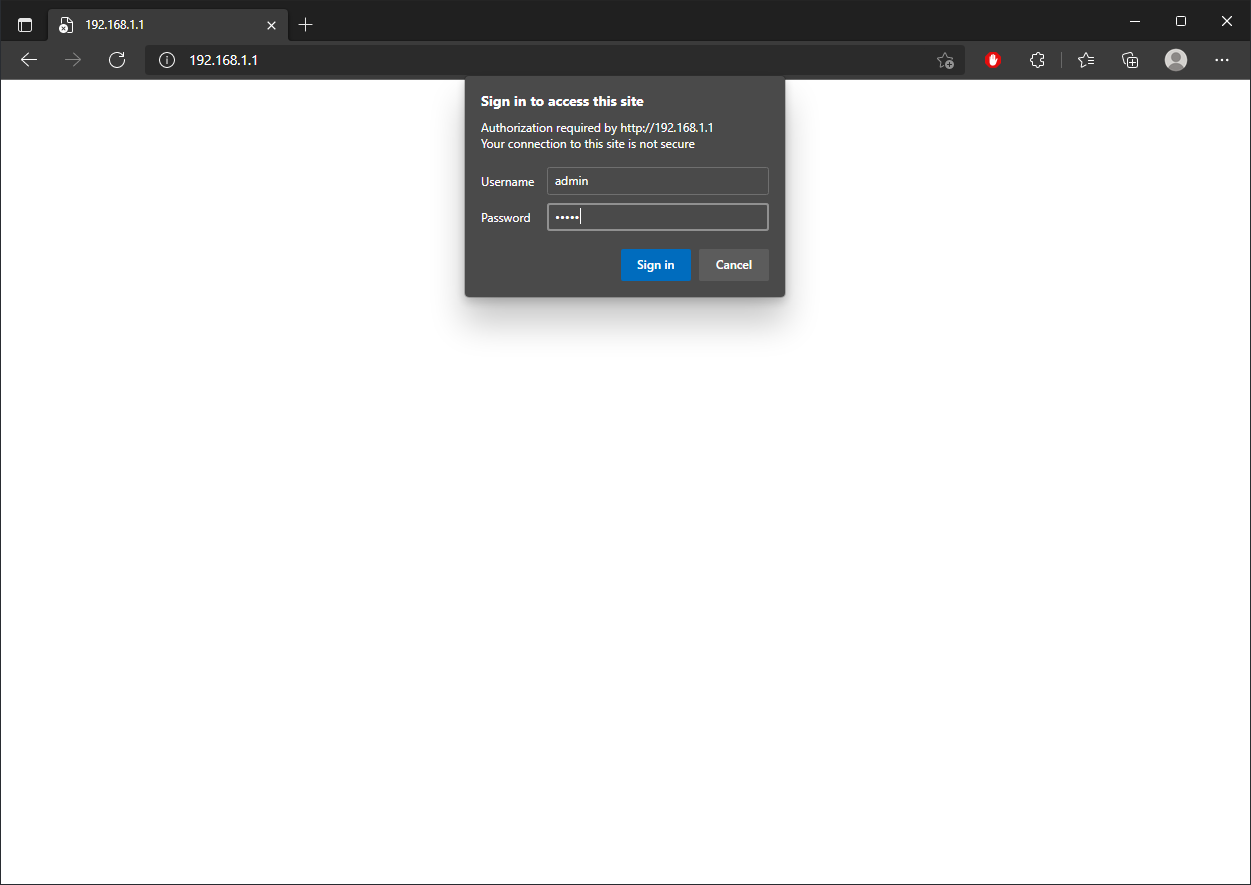
2. Enter the proper credentials to access the web portal.
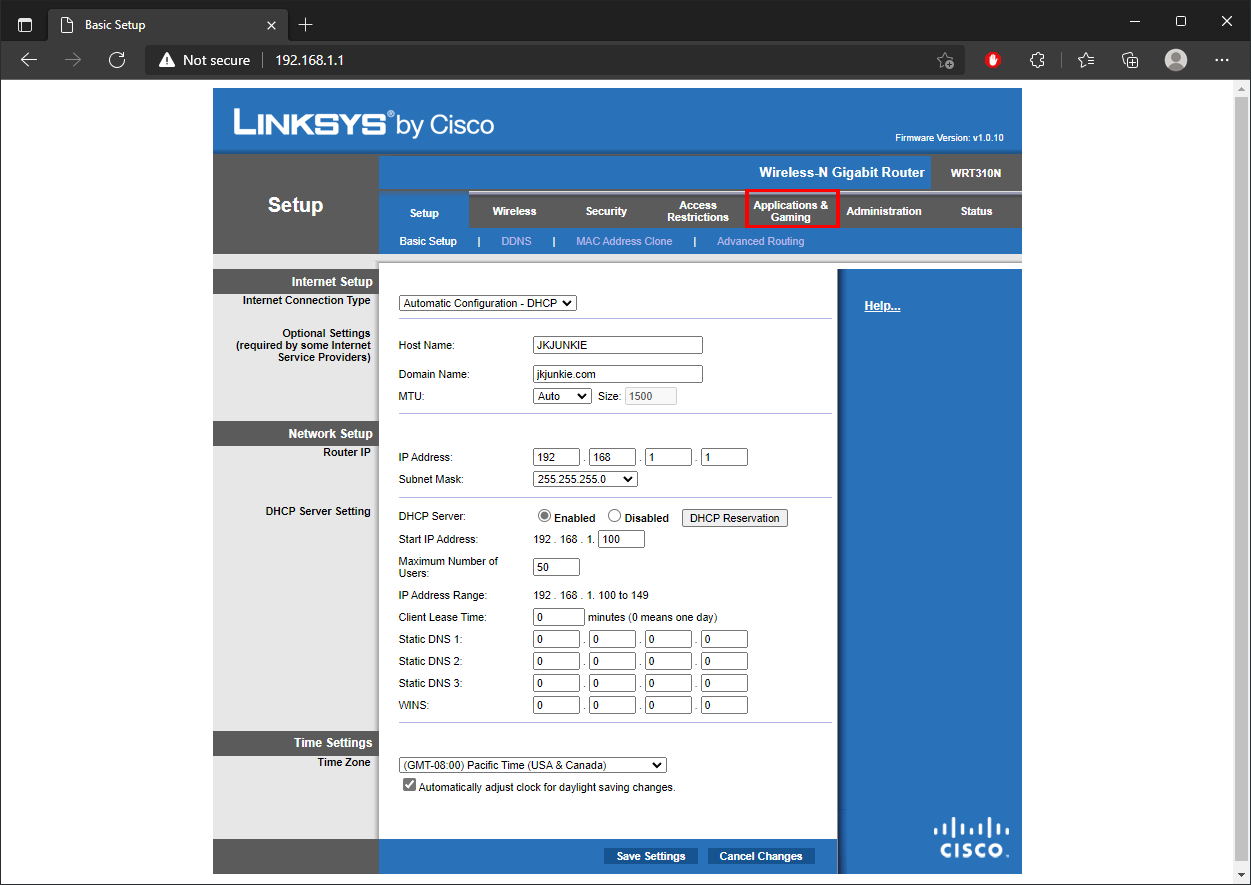
3. You should now be logged into the router's GUI admin control panel.
You'll want to navigate to the section where you can input the Port Forwarding information into a new rule on your router.
This option may be a sub-section within your router's configuration, so you may have to poke around until you find it.
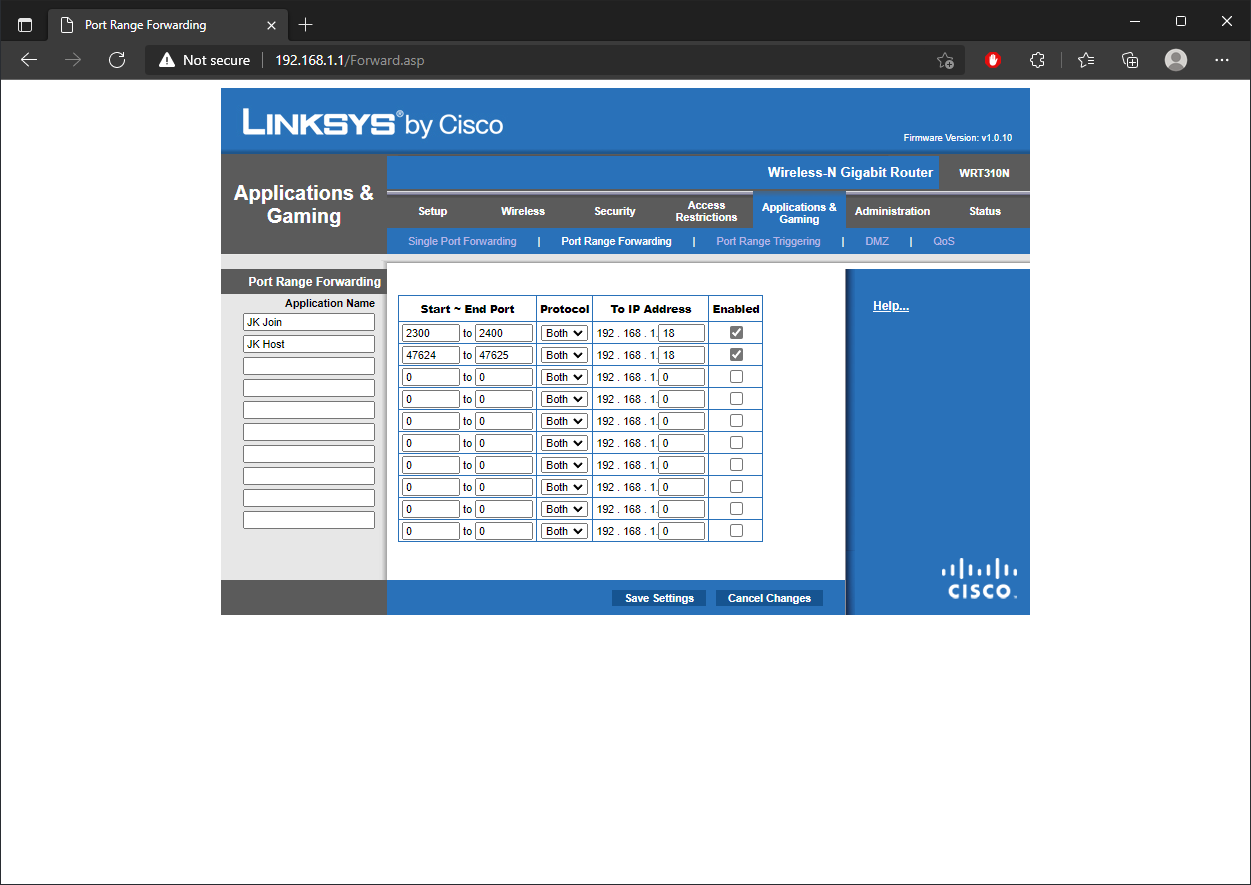
The Port Forwarding configuration on this particular router is in the Applications and Gaming section.
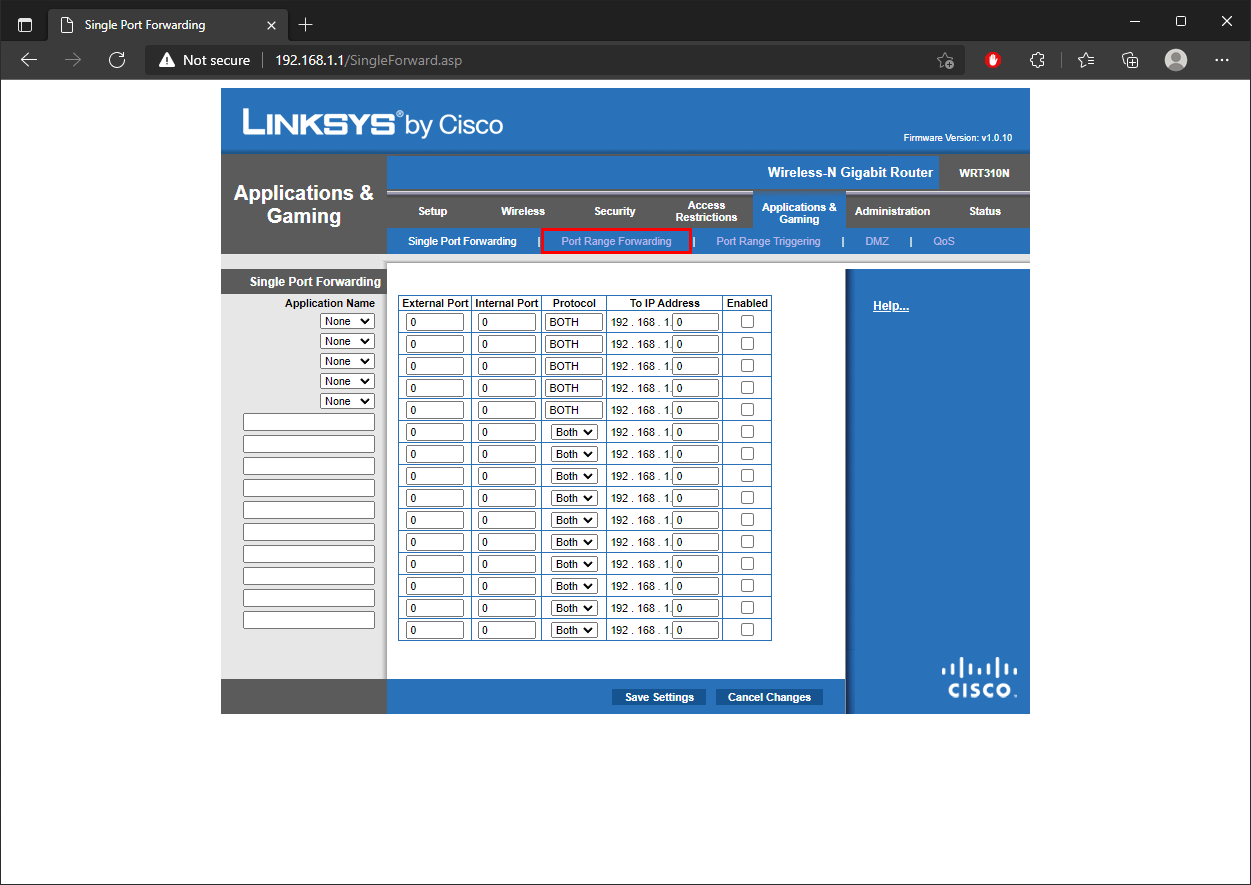
4. Once you're in the section to input your port forwarding configuration, make sure you're in the proper configuration for port
range
forwarding.
5. Setup your Port Forwarding rules to be similar to the configuration in the picture below.
You need to forward the port range from 2300 to 2400 for both TCP & UDP. This range is used for joining.
You also need to forward the port range from 47624 to 47625 (2 ports) for both TCP & UDP. This range is used for hosting.
Make sure the IP Address that you're forwarding these ports to matches the IP address for your computer where you will be playing Jedi Knight.
I also recommend setting up your TCP/IP version 4 configuration on your computer to be statically set.
You can use
this tutorial to setup a static IP configuration on your computer you use for Jedi Knight.
6. Be sure to save your changes. You should be good to go now! =)